
|
 Yeah, I admit it.
The ability to run at 500 is addictive. There's a nice ring to 500
Mhz when casually brought up in conversation. So, when it came
time to remove the big sink and do some more cutting on it, the thought
of having to back down a whole 40 Mhz to the lowly speed (yeah, right)
of 464 even for a couple of days wasn't that attractive. With the
Fullway sink out on loan, I needed another sink to turn into a peltier
sandwich.
Yeah, I admit it.
The ability to run at 500 is addictive. There's a nice ring to 500
Mhz when casually brought up in conversation. So, when it came
time to remove the big sink and do some more cutting on it, the thought
of having to back down a whole 40 Mhz to the lowly speed (yeah, right)
of 464 even for a couple of days wasn't that attractive. With the
Fullway sink out on loan, I needed another sink to turn into a peltier
sandwich.

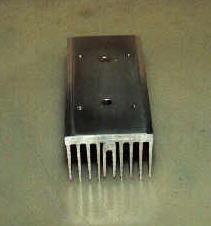
At the same time I purchased the 30mm TEC from Meci, I also got a 40mm peltier with a couple of sinks already attached. It looks like this used unit was pulled out of a portable electric ice chest. The heat dispersing sink measures about 5" X 4" X 1.5" tall. With the width of the sink and the massive cold block below the TEC, there was no way that this was going to fit into my case without some modifications. That meant a new project so I could continue with the other project.
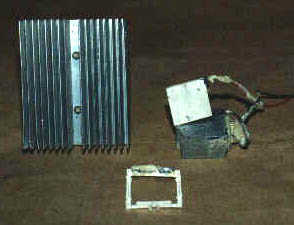
Sink, TEC, cold plate (block), and TEC holder.
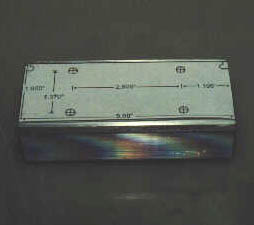
Knowing that the maximum base measurements that would comfortably fit on the Abit BH6 motherboard in the InWin A500 case were about 2" height X 5" width X 2.5" depth, I laid out the dimensions and began cutting. This time, instead of using the band saw, I purchased a 10" carbide tipped circular saw blade designed to cut soft metals. With this blade mounted on the table saw, cutting the aluminum was quick and accurate. Definitely a big improvement over using the band saw.
The Process
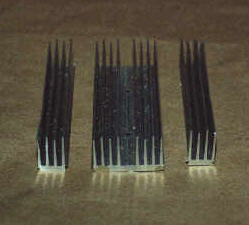
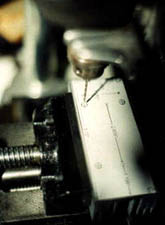
Mark the sink so that the cuts will give
you 4 fins on each side of the center space. If you are making the
cuts with a hack saw, you will need to clean up the edges using a file
and some sandpaper or some emery cloth.
 |
 |
 |
 |
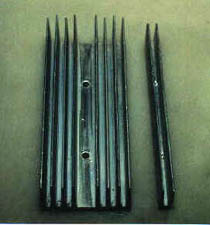
There are a total of 6 holes on the main sink. Two come on the sink after you knock out the studs that held the sink to the original TEC. Four 7/64" holes need to be drilled, then tapped to 6X32. Another 2 holes get drilled and tapped on the insert.
 _
_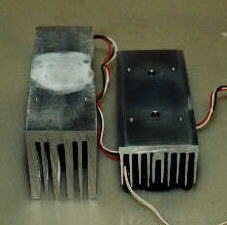
Left: Holes are drilled and tapped. There is a thin layer of
thermal paste between the insert and sink.
Right: Not quite as massive as its big brother, but still a good
sized sink.
 _
_
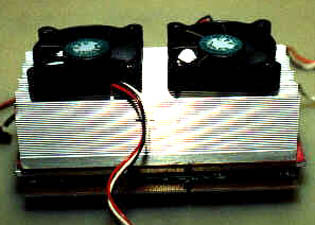
The same assembly procedure was used as with the other sandwiches. The extra hot plate wasn't used because the base of this sink is about 1/4" thick. The fins ended up being perfectly spaced to attach the 10mm X 50mm fans with small sheet metal screws.

|
|
|
|