
 |
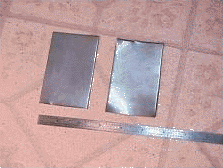
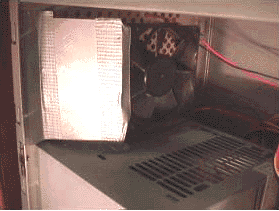
First, let me begin by giving credit to this project to Jim Fager. He had the idea of adding ducting to the secondary fan to improve the air exchanges within the computer case. Thanks Jim.
OK, here we go. So you want more cooling, and specifically, reducing the heat inside the case. The best and economical solution are 3" or 4" case fans. Most of these fans can be bought at Radio Shack, and are very effective when mounted and used properly. Radio Shack also carries that awesome squirrel cage fan that is great for directing air at a particular device in the case.
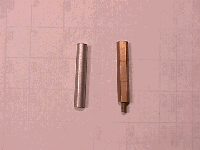
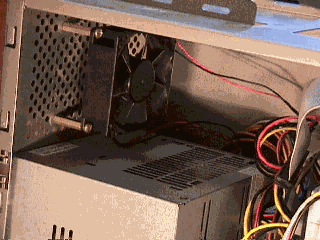
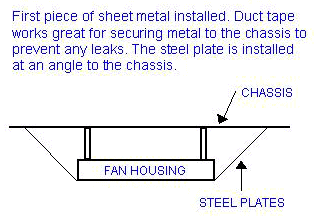
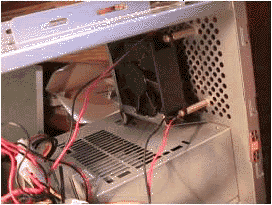
This project involves adding another 3" case fan above the power supply to help exhaust air out of the case. Most ATX cases already come with, or you have installed, a 3" case fan down at the bottom of the case to either blow air in or out of the case depending on which way the power supply fan is blowing. In my case, my power supply fan is blowing air out. The In-Win Full Tower case has extra space above the power supply to add an extra fan. This is the spot that I decided to use. The first rule here is: never place the fan flush against the surface, as the air will bounce off the case surface and back in the case. With this in mind, make sure that the fan is mounted at least 1½ to 2 inches away from any surface. To facilitate this, your local hardware store should have "threaded stand-offs" in different lengths.
 |
 |
 |
 |
.
 |
 |