
|

Moving to a new shop - part 2
December 31, 2011
In the last
cliff-hanging episode, our hero had packed
up his Grizzly mill and was
ready to make the drive through the wilds of Northern Virginia to the
new workshop. Hero? Wilds of Virginia? OK, give me a
break. I spent New Year's eve day stacking firewood, then came
home and loaded the surface grinder on to the trailer. Editing some
photos and writing up the latest installment of our move isn't exactly
the craziest New Year's eve I've spent, so forgive my little attempt at
some
excitement. Come to think of it, loading a two and a half ton
grinder is probably less exciting than driving in Northern Virginia on
New Year's eve.
A couple weeks ago
I finished clearing out my basement workshop and loading the mill,
table saw and many boxes of tools on to my "new to me" trailer.
The 20 mile drive to the new home shop was uneventful. The
trailer tracks a lot better with weight on it than it does empty.
I could probably help the bouncing when empty by lowering the tire
pressure a bit, but for the 30 minute drive, it's not that bad.
Since it's a tilt trailer, it's real easy to judge when you're starting
to put weight on the tongue. Pull the locking pin and move the
load forward until the trailer tilts to its level position. Move
the load a little further forward to put more weight on the
tongue. My Dodge diesel handles the load easily, though the
mileage drops substantially from its usual 19.5 MPG combined
city/highway average. Running 5 loads to the new shop and 5 empty
trailer returns (200 total miles out of the usual 500+ mile range of a
full tank) brought the mileage down to 15.2. The optimistic trip
computer reported 15.7.
With all of the
boxes and smaller tools unloaded from the trailer, it was time to
unload the mill. Since the 2 X 10 skids slide so well on the
trailer's metal deck, all I needed was to use my 2 ton come-along to
slide the mill to the end of the trailer so I could lift it off with
the engine hoist. Since the mill had been lightened by removing the
stand and head, the hoist had no trouble lifting the estimated 600+
pounds and rolling it to its new place in the shop.
The mill's stand
had already been set up and leveled, so it was just a matter of
unbolting the 2 X 10" skids and attaching the mill to the stand.
The mill's head was light enough that I could drag the piece of carpet
it was moved on to the edge of the trailer and lift it with the
hoist. I had previously found that looping the nylon sling under
both ends of the head, then running an additional loop between the
V-belt enclosure made it quite easy to lift the head from resting on
its side and then have it hang vertically from the hoist's chain
without any additional adjustment This made it a pretty simple
task to lift the head and reattach it to the mill. The whole job of
removing the mill from the trailer and bolting it all back together
took about an hour working alone.
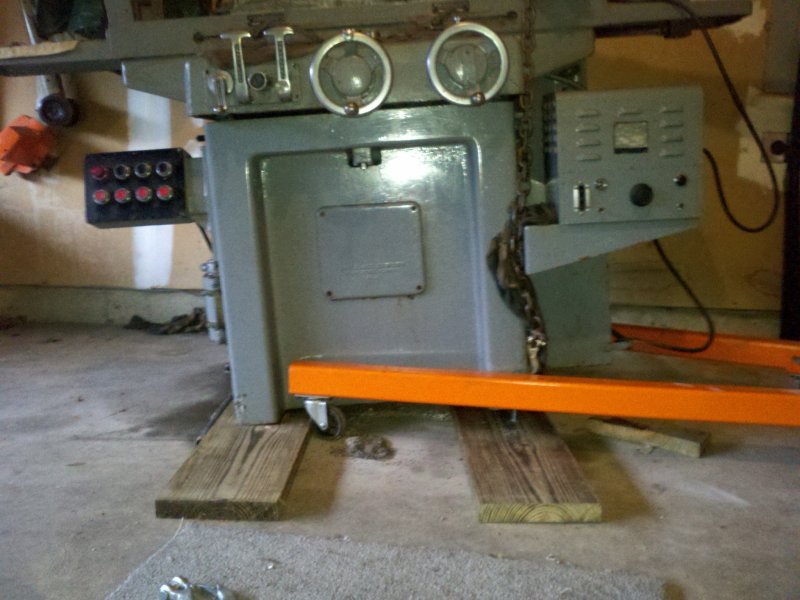
The last job I had
was to move the grinder. Over the next couple weeks, I built and
mounted the skids for moving the DoAll surface grinder. Getting
the skids and cross-braces bolted in place of the leveling feet was
time consuming, but pretty straight forward. I used four - six
foot 2X10 pressure treated pieces of lumber that I had let dry in the
garage for a month and a shorter, five foot piece that I had used for
another project. Two of the six footers were bolted in place of
the grinder's leveling feet. These were oriented front to rear.
Getting the two
boards attached was a bit of a juggling act. The grinder weighs
around 5000 pounds. My China made engine hoist says it will lift
4000 pounds with the boom in the fully retracted position, so I'd have
to lift one end at a time and block it up high enough that I could
slide the 2 X 10s under the grinder and attach them with carriage
bolts. To compound the lifting issue, the legs of the engine
hoist weren't wide enough to allow me to get the boom in line with the
lifting chain when the boom was in the two-ton position. I'd have
to use the one and a half ton position. I had already had to do
this a couple years ago when I added cushion pads under the grinders
leveling feet. The hoist will make the lift, but it doesn't seem
to be particularly happy to do so. I just try to keep myself out
of harm's way while pumping up the hydraulic ram.
I lifted the
grinder from each end, then slid some three inch thick blocks under
each end of the grinder. With the blocks in place, I was able to
slide the two skids under the grinder. I then raised each end up
another inch or two to allow me to get the carriage bolts through the
board and into the leveling feet attachment holes. With all of
the bolts tightened down, I called it quits for the evening.
The next step was
to add the three skids that the grinder would slide on. Two six
footers on the outside and a five footer in the center. The two
outer skids had their ends cut at 45° angles to help them slide
from the floor to the tilted trailer. I used two carriage bolts
at each end of each board, along with some large fender washers.
Even though I had let the pressure treated boards dry out for a month,
there was a big difference in how much the newer lumber compressed
compared to the couple year old five foot piece I used in the center.
Lifting the grinder
high enough that I could attach the bottom skids presented its own
challenges. The legs of the hoist with their casters underneath
weren't tall enough to allow the skids to mount flush with the two
supporting boards. My solution was to use a couple small pieces
of board to raise the casters a couple inches higher. Not exactly
the best way to support the hoist when making this heavy of a lift, but
I took my time and triple checked each step I made. Once all
three skids were attached, I left it sit for a few days, then
retightened all of the carriage bolts.
On the day before
the loading, I lifted each end of the grinder once again and positioned
some 3/4" iron pipe under the skids. I tried to slide the grinder
out a bit from the wall using a six foot steel digging/pry bar, but
couldn't get enough purchase between the bar and the slick finish of
the concrete garage floor. I resorted to using combinations of 2
X 4s and bricks braced against the cinder block garage footing as a
fulcrum and slowly moved the grinder away from the wall.
With the grinder
moved a few feet from the wall, I was ready to pull it on to the
trailer. I hooked up my new Badlands 9000 winch to the receiver
mount I had added to the front of the trailer. I ran the 2/0
welding cable turned battery jumper cable from the winch to the Dodge's
battery. I wrapped a tow strap around the lowest point of the
surface grinder body and hooked it to the winch cable. Since the
grinder wasn't in line with the rear of the trailer, I added a chain
and snatch block to the left side of the trailer and fed the winch
cable through it. My hope was that this would pull the grinder to the
left enough to line it up with the trailer's ramps. I laid some
blankets over the top of the winch cable to slow down the whiplash if
the cable or sling broke. Time to make the pull.
I hit the "In"
switch on the winch remote and took up all of the slack in the cable,
then started the pull. The grinder began to roll on the
pipes. The next few minutes were split between hitting the
button, making sure that the cable was being wound evenly on the winch
drum and adding pipes under the skids as the grinder crept forward
toward the left side of the trailer. Once I had the grinder
positioned directly behind the trailer, I removed the snatch
block. Now I had just a straight line pull to get the grinder on
to the trailer.
Once the skids
reached the end of the garage, they hung over the two inch drop to the
driveway. I added a two inch steel pipe between the drop-off and
tilted trailer ramps. A couple more clicks of the button and the
skids had dropped on to the two inch pipe. I added a three inch
pipe in
front of the two inch pipe and pulled some more. The skids
climbed the larger pipe. From there, all that was left was to
pull the
grinder up the tilted trailer.
I put the winch in
free-spool and pulled out about twenty feet of line. Using some
heavy leather gloves to apply friction to the cable, I rewound
the cable and made sure that
it was tight and evenly around the winch drum. I hit
the switch to begin the pull. Without any apparent strain at all,
the grinder
started moving up the trailer. I repositioned the pipes a couple
times and started adding the 3/4" pipes as the grinder inched up the
trailer. In less than 5 minutes, the grinder was fully on the
trailer. Another few minutes and it had reached the area of the
pivot point. Another few clicks of the button and the trailer
started tilting back to it's flat position. Once the trailer was
flat, I installed the bed locking pin and pulled the grinder forward
another foot or so to put some weight on the tongue. I watched
the clearance between the Dodge's tires and the rear wheel well.
When I saw that the clearance had been reduced by about a half inch,
the pull was complete. By now it was dark. Enough for one
day. I left the winch cable attached to the grinder, cleaned up
my tools, and covered the grinder with a tarp.
January 1, 2012 -
Happy New Year
Last night we had a
lot of cloud cover and a passing rain shower. This was both good
and bad. The good was that the temperature at 7:00 AM was in the
mid-fourties. The bad was that the trailer deck was wet. I
waited until the sun had dried off the deck a bit and got to work
securing the grinder for its ride to Catlett. I used 3/8" chains
and two racheting load binders to secure the base of the grinder to the
trailer bed. I then realized that I hadn't cushioned the grinder
ways for the trip. I slackened the chains and cut eight pieces of
thick carboard. With the help of my wife, Susie, I used a pry bar
to lift the grinder table up as she slid a piece of cardboard between
the ways at each end of the table. We repeated the process on the
grinder's saddle ways. Since I had spent all of the time to
rescrape the ways on this machine, I didn't want them banging together
on the drive to the new shop. For the vertical ways, I just
lowered the head down and lightly rested an old grinding wheel on a
block of wood on top of the magnetic chuck, then tightened the gibs so
that it wouldn't bounce around. I retightened the chains and
added some two inch nylon ratcheting straps to hold the table and
saddle tightly to the grinder. The ways on the grinder are V
shaped and nothing but gravity keeps the saddle and table from moving
around, so to prevent damaging the ways, cinching them tight to the
base
was necessary. I double, then triple checked all my work.
By noon, we were ready to make the trip.
The drive to
Catlett was uneventful unless you happened to be in one of the cars
behind me. I'm afraid that those folks wished
that they were anywhere but behind me. Yes, I drove slowly.
Much more slowly than I normally would have, even when towing a
trailer. I tried to steer
around bumps and dips in the road. I slowed to a crawl for
turns. When we finally made it to the gravel road that ends in
our driveway, I put the truck into 4WD low and crept along in third
gear. We were passed by turtles taking a Sunday stroll.
When we got to our driveway, I shifted down to "creeper low" and slowly
climbed the dirt and gravel driveway that was still wet and slippery
from the last night's showers. I backed the trailer up across the lawn
and parked it with the ramps extending into the concrete floor of the
workshop. So far, the whole operation had been nearly flawless.
Unloading the
grinder wasn't as easy as loading it. I had planned to sink a one
inch bolt into the floor of the workshop so that I could attach the
snatch block and use that as the pull point. I had forgotten to
do that and my masonry drill was at the other house. Darn.
Rather than drive back to Gainesville, I opted to do without. I
attached the snatch block to a chain and hooked it on the end of the
trailer ramp. At least I'd be able to pull the grinder to the
edge of the trailer, or maybe not. The process of pulling the
grinder to the end of the trailer took a couple hours and by then an
unanticipated rain shower arrived. Though I was getting a bit
wet, it
didn't dampen my spirits. Once the grinder reached the
over-center position of the trailer, I unhooked the locking pin and
slowly pulled the grinder just far enough that the trailer tilted. I
then realized that
once I put the pipes under the skids, the grinder might take off on its
own. That wouldn't be good. I had been planning on not
using the pipes until the grinder was in the shop and letting the
friction between the skids and the trailer deck slow its descent.
Now that I would have to use the pry bar to make the transition from
trailer deck to shop floor, I figured I'd need the pipes. I
unhooked the winch cable from the snatch block and reattached it so
that it held the grinder from sliding down the tilted deck. I
used the pry bar to lift the front skids enough to insert the pipes
under them, then put a little slack into the winch cable. I used
the pry bar to force the grinder down the trailer enough to take up the
cable slack, adjusted or added another pipe, then gave the cable some
more slack. Repeat, shampoo, rinse, repeat again. Pretty slow
going, but I wanted to be safe rather than sorry. When the skids
were almost to the concrete, I added the larger pipes and slowly pryed
the grinder on to the shop floor. Slow work and I was now a bit
wet, but by
4:00 PM I had the grinder inside the shop far enough that I could close
the garage door. I'd move the grinder into its designated spot
after I purchase a large automotive style drip pan to go under
it. Between the coolant the grinder splatters about and the way
oil that ocassionly drips off the ends of the table ways, the grinder
had left some stains on the old garage floor. I would like to
keep the stains to a minimum in the new shop.
After months of
planning and a lot of money spent, the last of my equipment was in the
new shop. As I said, I have lots of stuff to organize and put
away,
but the shop move is done. The best part is that aside from one
easily repairable
broken handle on my old table saw, everything arrived intact. I
also have acquired most of the tools necessary to do some more moving
when I start looking for some
industrial sized equipment for the new shop. A larger lathe and
an older horizontal miller would
be nice. I'd love a metal planer, too. We'll see how that
goes.
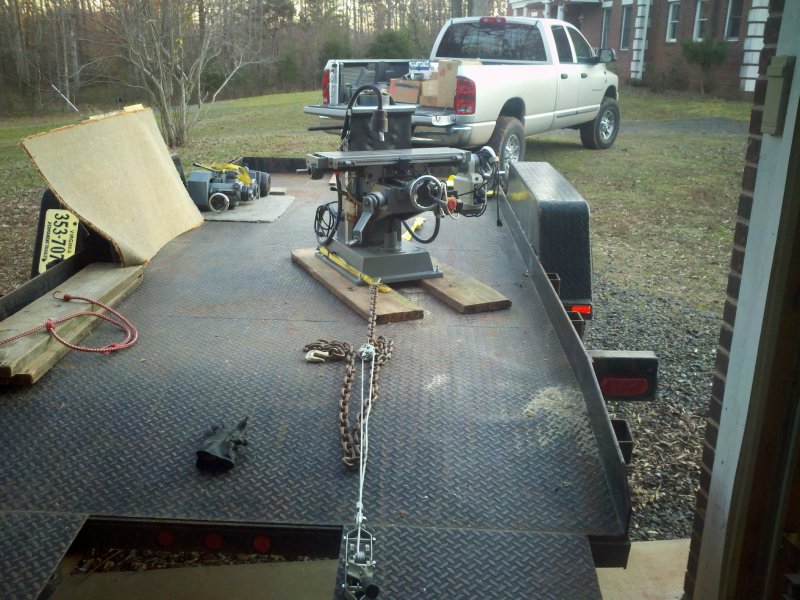 |
| Using
a
come-along to pull the mill to the end of the tilt trailer so I can
grab it with the engine hoist. |
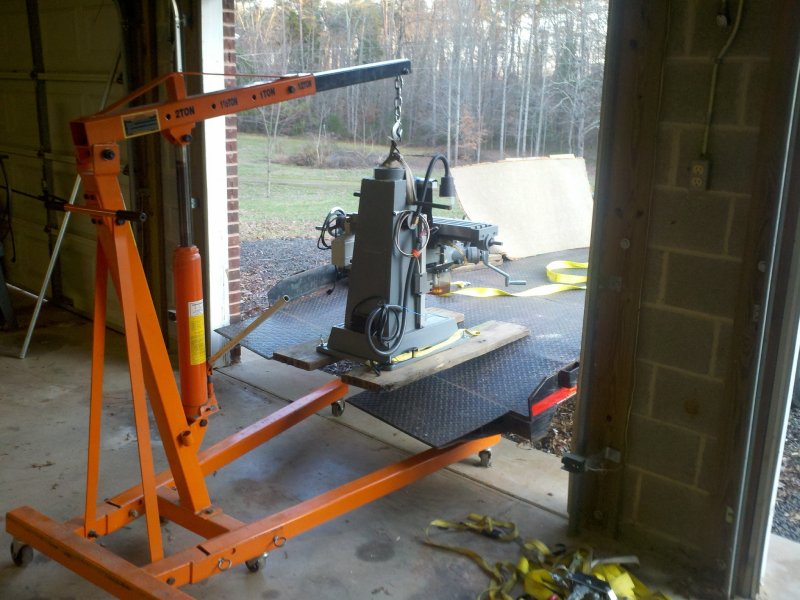 |
| Lifting
the
mill with the hoist. Aside from being a cold day, the
unloading couldn't have gone more smoothly. Being able to back the
trailer up to
the shop is a heck of a lot easier than it was when moving the mill
across a lawn
to the walk-out basement of the old home. |
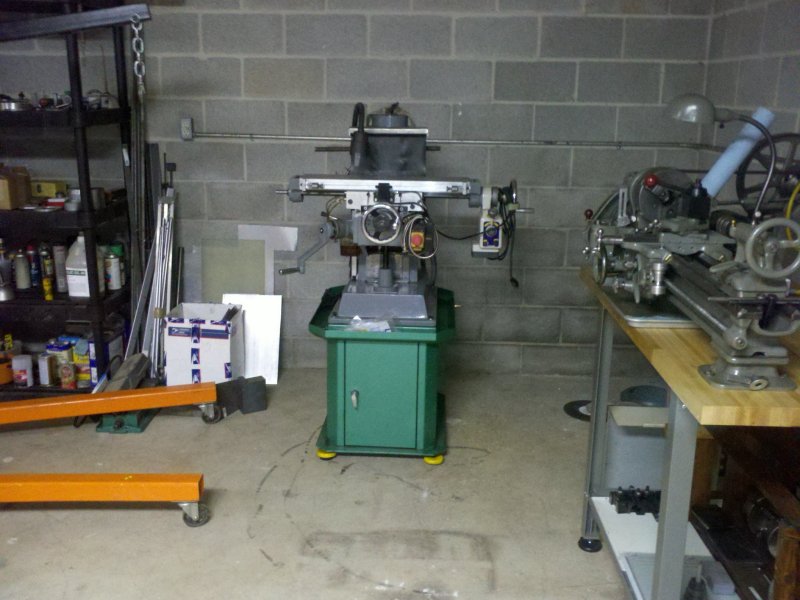 |
| The
mill
is attached to the stand. I still don't know if I like my initial
layout for the tools, but the present goal is to get the equipment into
the new shop. |
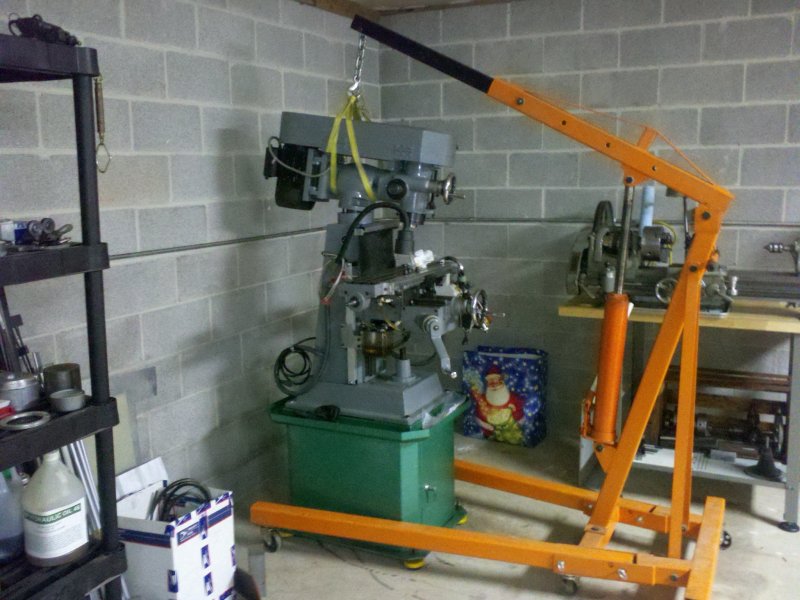 |
| Attaching
the
milling head to the base. |
 |
| Back
at
the old house. Attaching the 2 X 10s that will become the
moving skids for the DoAll grinder. |
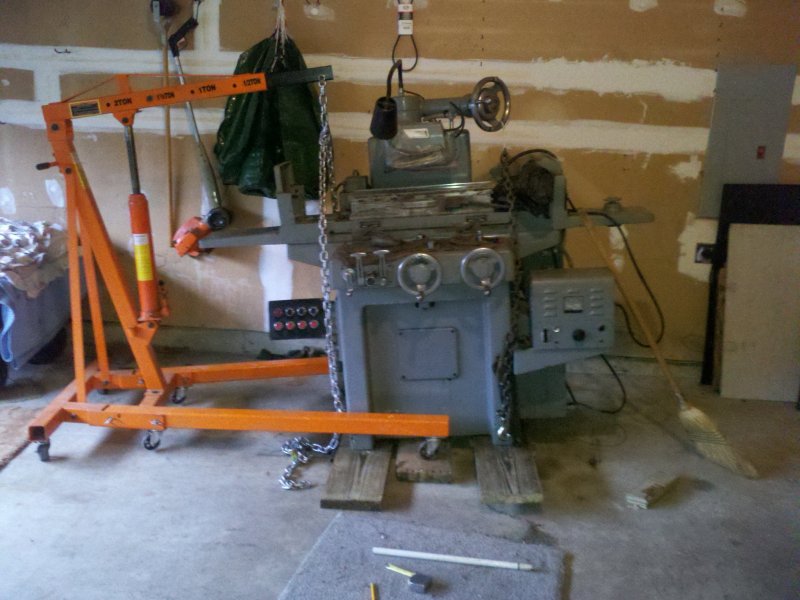 |
| Lifting
one
side of the grinder so I could add the second layer of
skidding. I have the boom set on the 1.5 ton position as there
wasn't enough clearance to use the 2 ton position. The hoist wasn't too
happy, but made the lift without the boom bending. I stayed well
clear until I had the grinder set on some cribbing. |
 |
| Three
2
X 10 skids on the bottom with 3/4" cast iron pipes as rollers.
The Badlands winch cable was run through a roller bearing snatch block
to help center the grinder for the pull up the tilting trailer. |
 |
| I
was
pleasantly surprised at how easily the grinder rolled on the pipes
when being pulled by the winch. Conversly, using a six foot pry bar, I
could only move the grinder an inch or so at a time. |
 |
| I've
got
the grinder pretty close to centered. It's time to remove the
snatch block and make a straight pull. |
 |
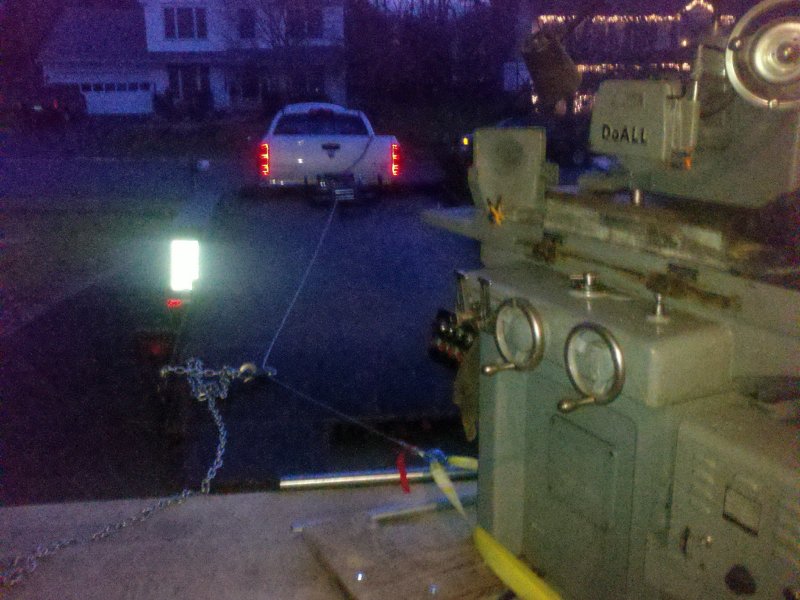
| The
pull
begins. Sorry for the blurry pic. |
 |
| A
couple
minutes later, the grinder is on the trailer. |
 |
| After
pulling
the grinder over the trailer's pivot point, the weight of the
grinder tilts the trailer bed to its locked position. Easy as it could
be. |
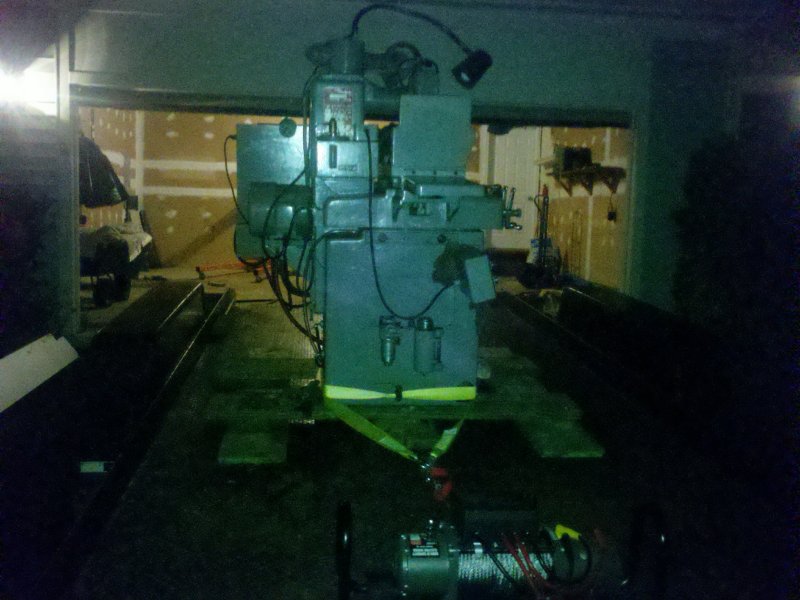 |
| After
many
weeks of planning and worrying about everything that could go
wrong, the loading of the grinder went as well as I could have hoped
for. |
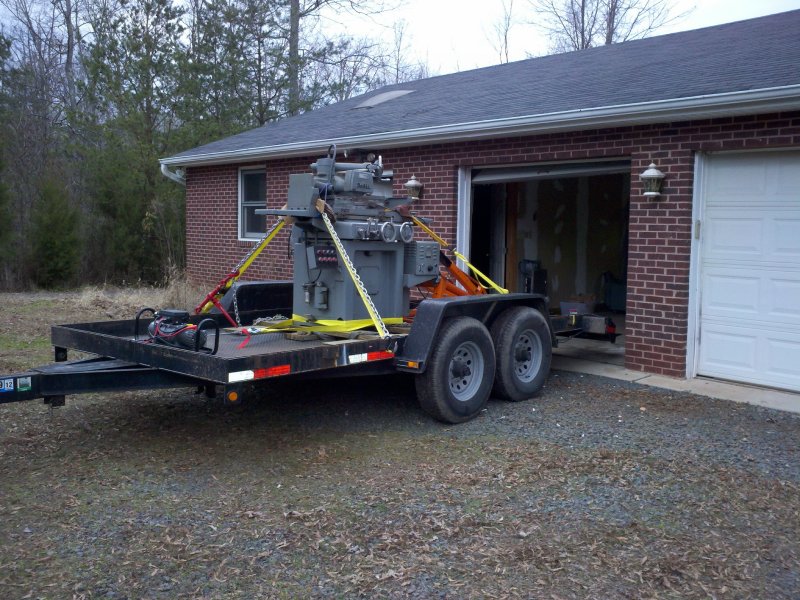
 |
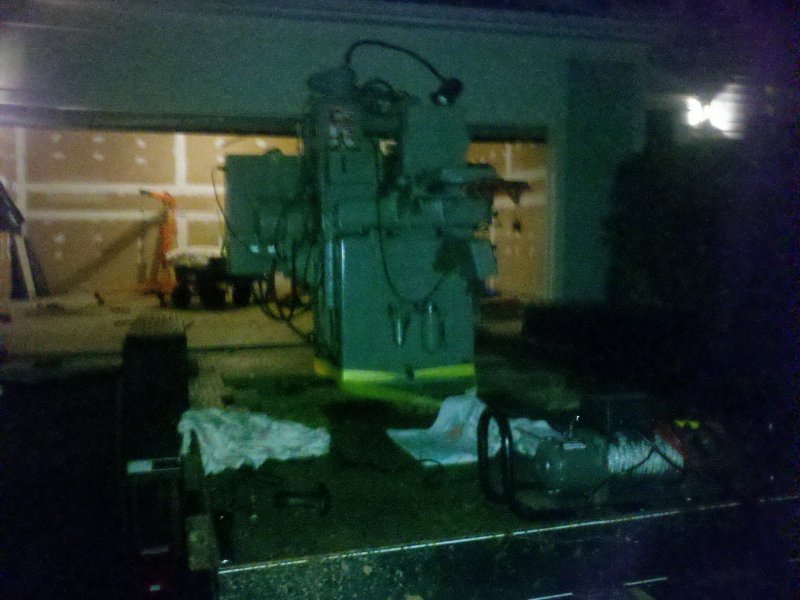
| All
done
for the night. Time to cover it with a tarp and have some
dinner. Tomorrow morning I'll chain it down and make the trip to
the new shop. |
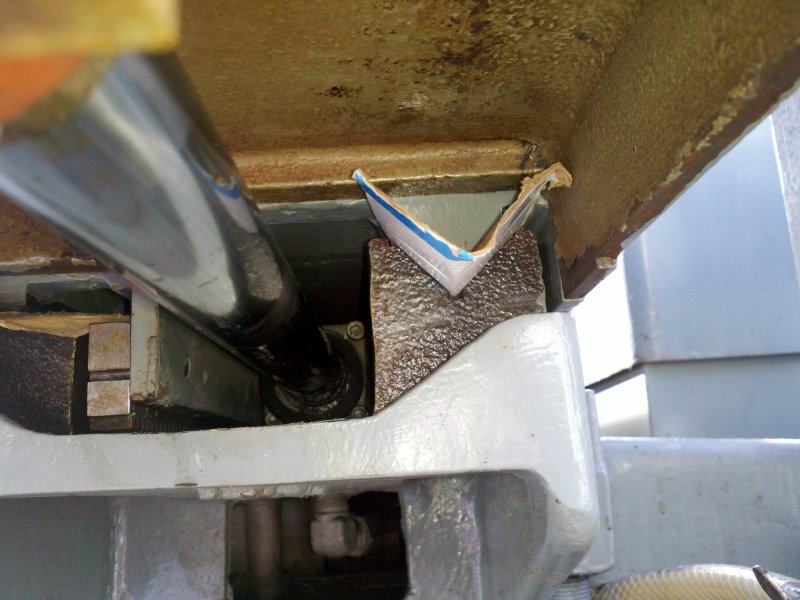 |
| Using
cardboard to protect ways on table. |
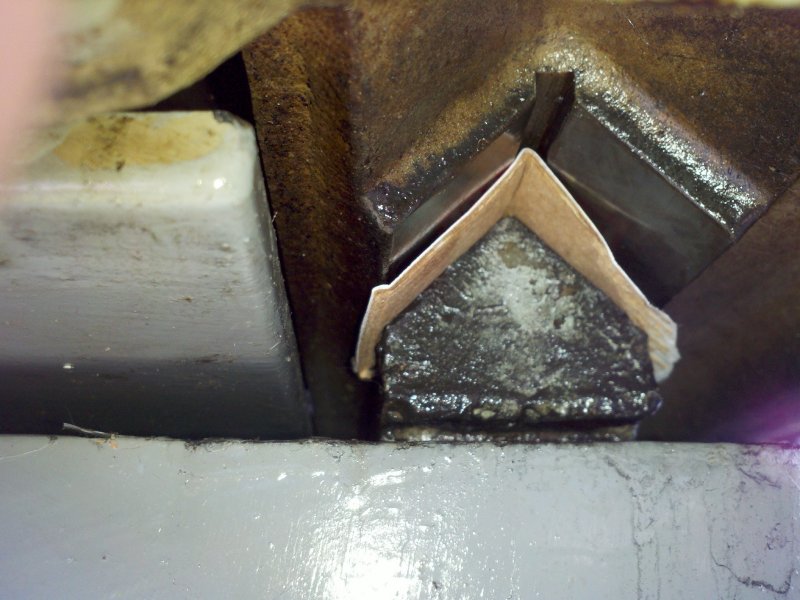 |
| More
cardboard between the saddle ways. |
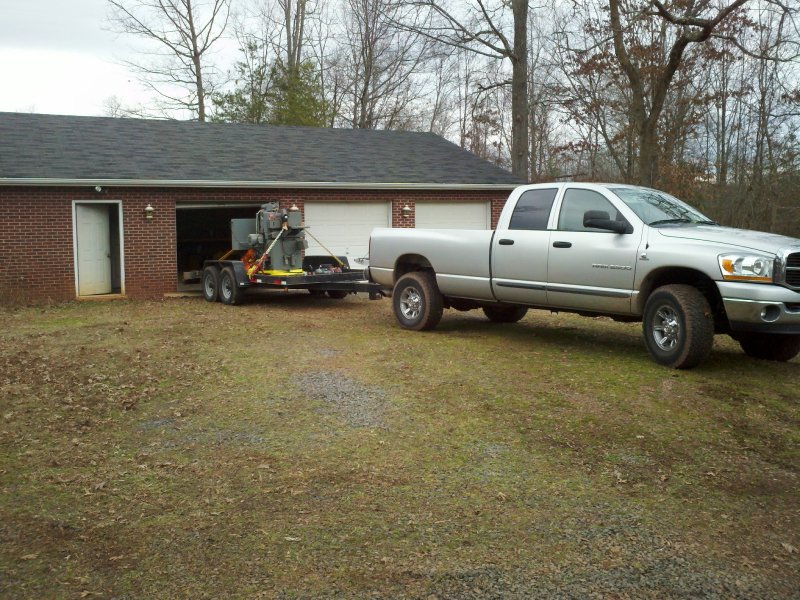
 |
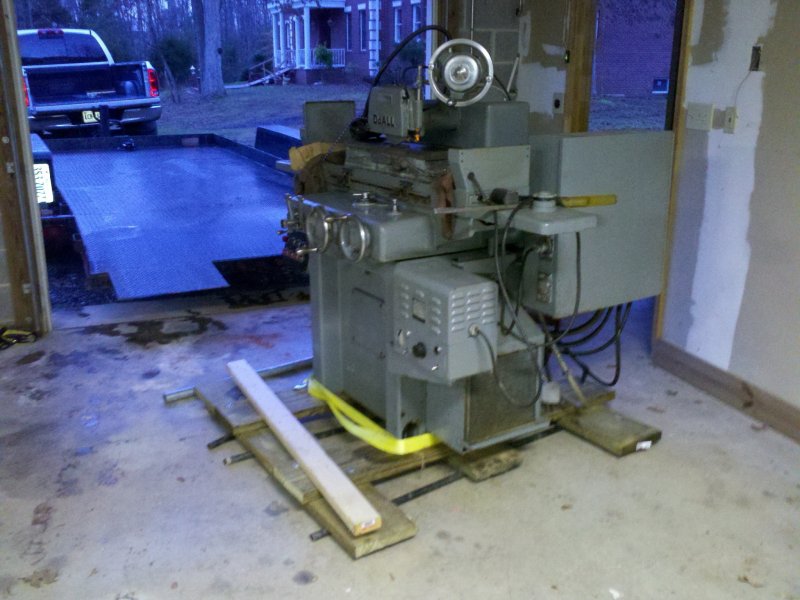
| The
DoAll arrives at the new shop. |
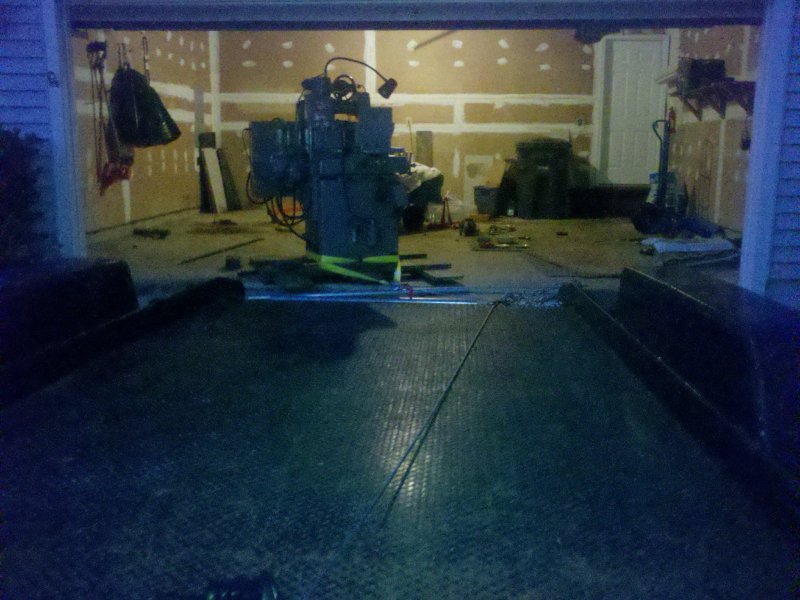
 |
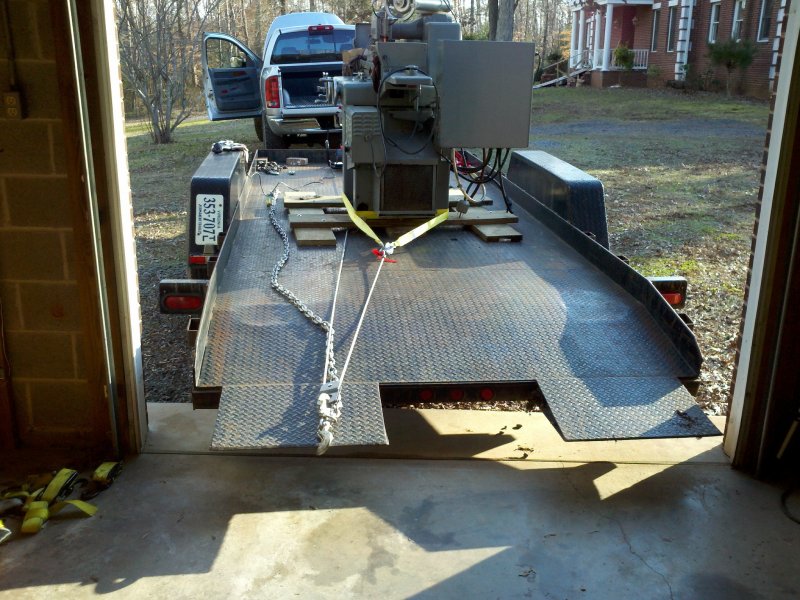
| The
unloading is about to begin. |
 |
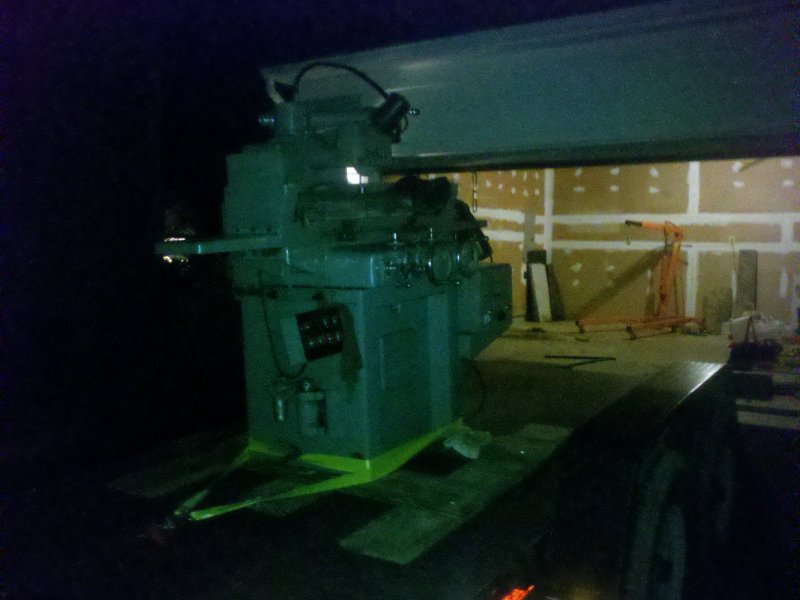
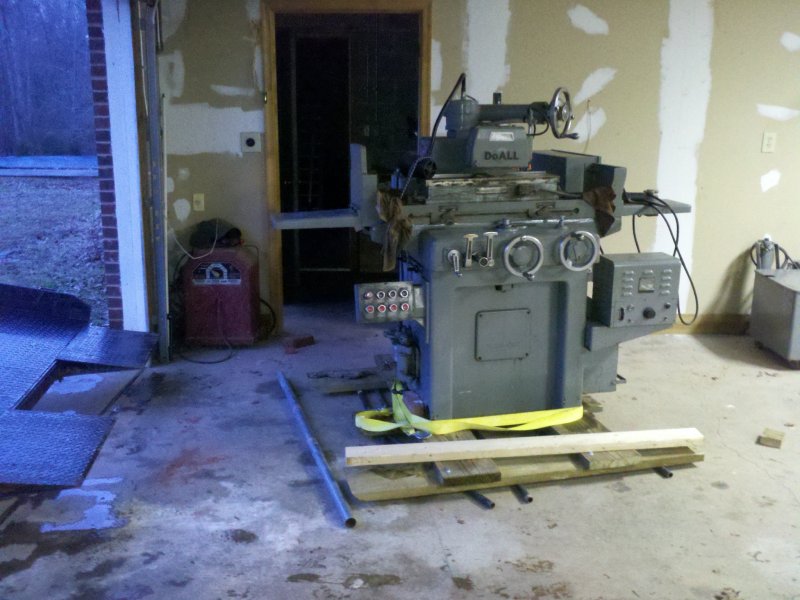
| Another
view.
Not a whole lot of clearance between the top of the grinder and garage
door. |
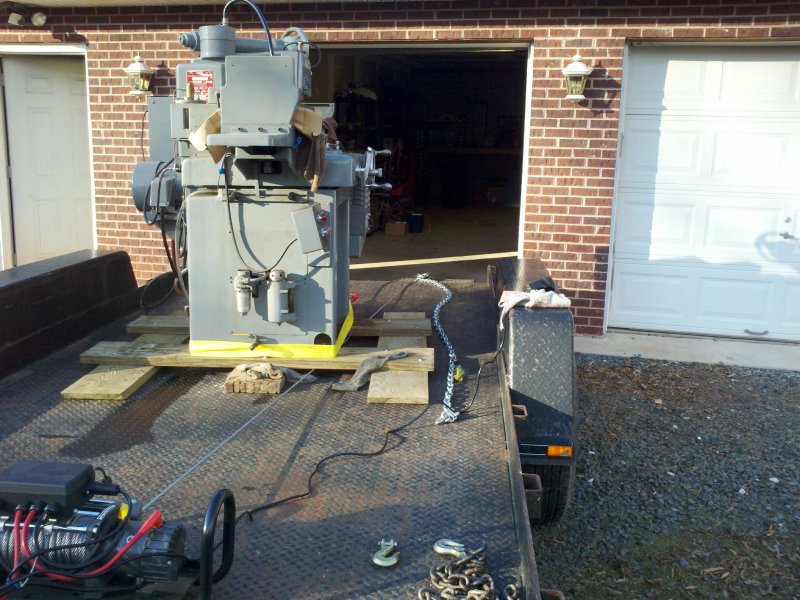 |
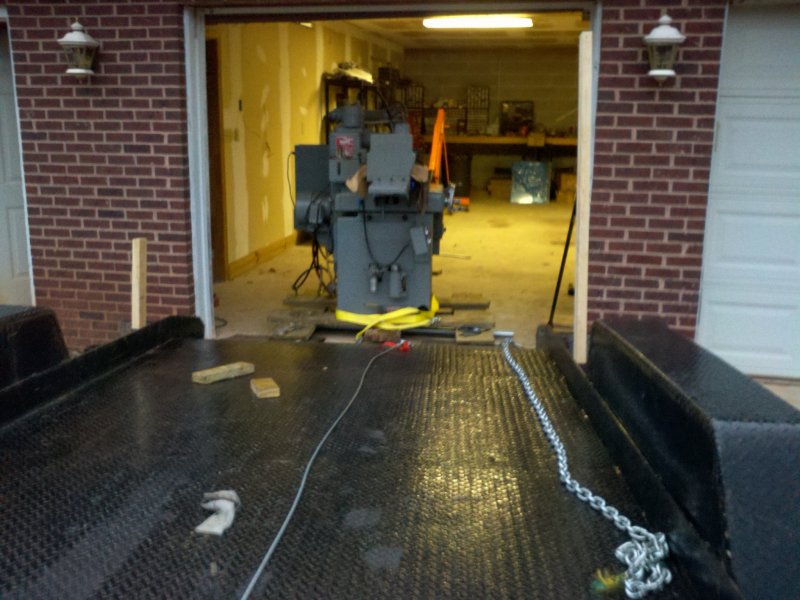
| Badlands
9000 winch with the cable routed through a snatch block hooked on to
the end of the trailer. Ready, set, pull. |
 |
| Rear
view. The fun begins. |
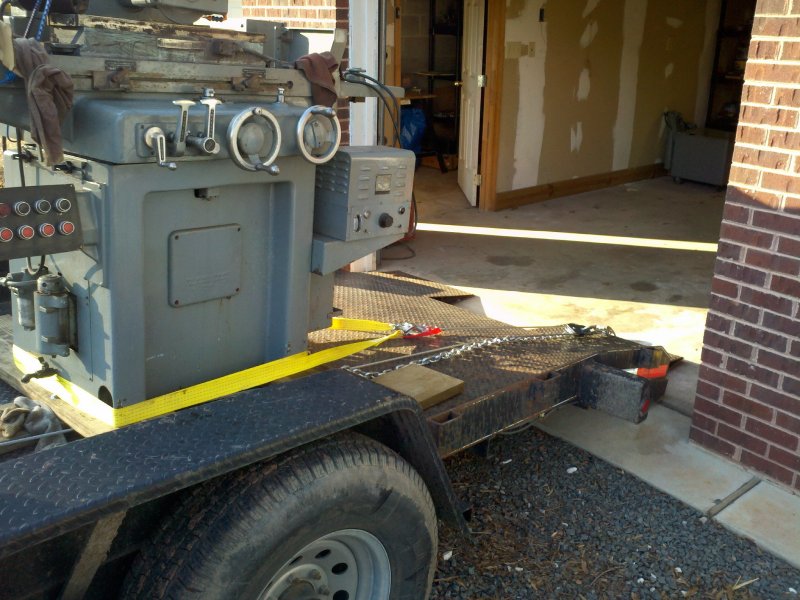 |
| The
grinder has passed the tilt trailer pivot point and the ramps are on
the floor. |
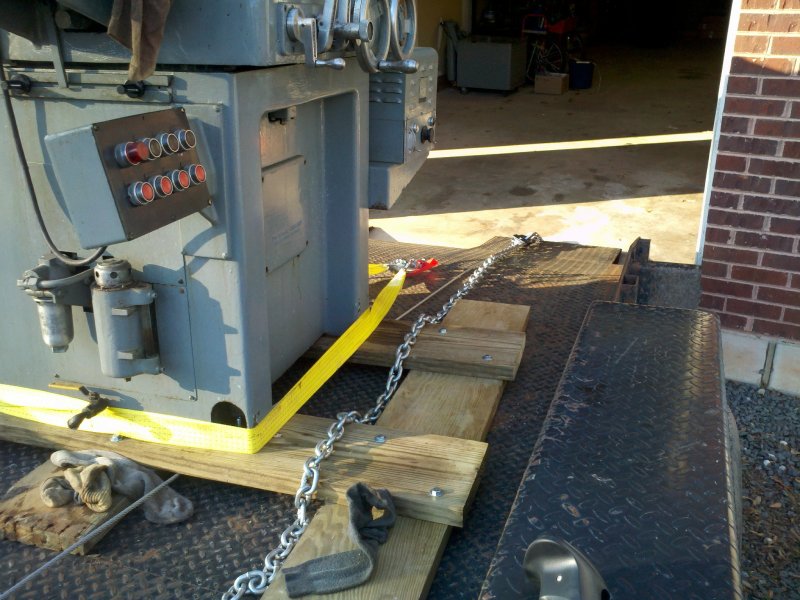 |
| Getting
ready to switch the cable from pulling position to where it's holding
the grinder from moving on its own. |
 |
| The
rain has begun, but the grinder is about off the trailer. |
 |
| A
2" pipe helps the transition from trailer to floor. |
 |
| In
the new shop safe and sound. |
 |
| The
grinder will be rolled next to the coolant tank (on right) for the time
being. |