
|

Moving to a new shop
December 09, 2011
After what can only
be described as the real
estate
transaction
from
hell, on September 28, 2011, we closed on
our new home. It is now almost mid-December and we're still
moving. Half the reason we're still moving is that we've been in
the current home for 21 years and have a lot of stuff. (Boy, do I have
a lot of stuff!) The other half is that the new home needs some
TLC and we've been working our butts off trying to get as much as we
can done before the weather turns too cold.
Over the last few
weeks, I have been 'ramping up' on getting the workshop moved.
It's coming along slowly but surely. I'm to the part of the move
that I was most concerned about - the moving of the machines.
Especially the surface plates, mill, lathe and surface grinder.
Of the group, the surface grinder is the biggest challenge at about 2.5
tons. Fortunately, it's in the garage and not in the basement.
When I acquired the
grinder, the largest piece of equipment I had moved was my 1/2 ton
Grizzly mill and I moved that from the garage to the basement by
stripping it down to individual pieces with the help of a engine crane
and a heavy duty hand truck. For the grinder, I borrowed a dual
axel trailer and rented a forklift. The grinder was loaded on to
the trailer where I purchased it and all I had to do was unload it and
roll it on pipes to it's resting place. Since the trailer I
borrowed moved with its owner to South Dakota, I needed a trailer of my
own. I had also decided that if I had to spend money to move this
stuff, I might as well have something to show for the money besides the
machines being in their new home. Renting a forklift wasn't
exactly inexpensive.
After months of
searching, I finally found a dual axel tilt trailer with a metal deck
that had a gross weight rating of 14,000 pounds. Aside from a
little surface rust and being in need of a little paint, it was in
great condition. At $2700, it was a little more than I had hoped
to pay, but I had run out of time. All told, it was a fair deal
for both of us, but with the amount of stuff we needed to buy for the
new home, I had hoped to spend less. Anyway, I now had a
trailer. Along with the trailer, I needed to buy a new hitch ball
adapter as my other one was only rated at around 3 tons. I also
had to figure out how I was going to get the grinder on the trailer.
After posting a
question on my local metal working group listserver, I was surprised by
the number of good ideas I received. Everything from
building/renting a gantry crane (which I would love to own), to using a
winch mounted to the trailer, to some offers of help by some guys who
were more
experienced riggers. After researching some more and some thought
for what would give me the most use after this move, I decided on
buying a winch. Which winch? More research, more questions,
then I found a coupon to get the Harbor Freight Badlands 9000 pound
winch for $260 (it's expired now). With the price of a name brand
winch
about 4 to 6 times more, what was I getting for that money? These
winches are pretty new and have replaced an older winch that had gotten
mixed
reviews. The only real "shootout"
review
I
could
find
on
the Badlands
said
that
it had problems out of the box.
However, talk in the off-road forums
seemed to be somewhat positive. HF had upgraded the motor from permanent magnet type to series-wound type, but
the duty cycle is only 5%. That means 45 seconds of pulling and
15 minutes of waiting for it to cool down when doing a maximum
pull. Workable, but nothing to brag about. All told, it
sounded like one of the better Chinese made winches. Maybe not as
strong or reliable enough for a hard core off-roader, but for my
occational machinery move or pulling trees out of the new property, it
sound like it was worth a chance.
After more reading
and considering HF's 30 day money back guaranty I finally decided to
take a chance on the Badlands. I also ordered the receiver hitch
adapter from HF and a bolt on receiver from McMaster-Carr for the
trailer deck. Now I'd be able to use the winch from the rear of
the truck or the deck of the trailer and if I decided to splurge, I
could buy or fabricate another receiver for the front of the truck and
one for the tractor as well.
The next step was
to figure what to use to wire it up. It's a little less than 24
feet from
the dual
batteries on my diesel truck to the point that I added the receiver on
the deck of the trailer. Voltage drop is the consideration
here. To keep the voltage drop from going too much over the 10%
maximum voltage drop, I'd need size 2/0 wire. With the price of
copper, this
wasn't going to be cheap. After seeing prices for as much as $7
per foot (times 50 feet - ouch) for 2/0 flexible welding cable, I opted
to bid on a 50' new piece of 2/0 gauge fine stranded welding
cable. For those who haven't thought about it, the finer the
strands, the more flexible the wire. When you get to size 2/0,
which is a little less than 1/2" diameter of copper, not having
flexible
wire makes it really tough to route. Welding cable is usually
very flexible and has nice heavy insulation. I got it for a little
under $2.80 a foot and also
purchased some Anderson SB350 connectors so I could just plug the winch
in rather than mess with nuts and bolts.
Over the course of
the next week, all the parts trickled in. My first impression of
the
winch was good. It was packed well enough that even the rough
handling of a heavy item going through UPS shipping got it to me in one
piece.
The box was a little ragged, but the foam prevented even a scratch on
the winch. If you've purchased HF stuff before, you know that
sometimes the equipment looks good and sometimes not so good.
This winch was one of the better looking tools I've seen them
sell. I
was impressed with the fit and finish of the winch. The roller
fairlead looked a little lighter duty than I would have liked - but
passable and the mounting of the
relay box could have been better, but overall it looked like it was
well designed and decently assembled. I read over the
manual. Lots of the usual warnings, but also some good clear
assembly pictures and a nice exploded view of the inner workings. I got
it assembled and hooked it up to a battery to make sure it wasn't
DOA. It seemed to be
fine. The winch operated in both directions and the free-spool
worked smoothly. I soldered up the connectors for the 25 foot
long extension lead and I was ready to pull something.
That something
turned out to be the trailer and my Deere 317 garden tractor. I
had hooked up the trailer to the little tractor and moved it to the
sliding doors on the walk-out basement. I got my 4' X 8' wooden layout
table loaded on the trailer when it began to rain. I covered
everything with a tarp and hoped the rain would stop. That didn't
happen. We got rain - heavy rain - for 5 of the next 7
days. The back yard was now looking like a swamp. We
finally got a stretch of 4 days of no rain and a forecast of more rain
on the fifth day. So even though the ground was still a bit
soggy, I attempted to drive the tractor, with trailer in tow, up the
hill to the front yard before the next batch of rain would arrive the
next day. I didn't succeed in doing much more than digging holes
in the lawn when I got part-way up the short hill. By the next
span of dry days, I had the winch. I would get the trailer out
this time.
With my wife Susie
manning the winch remote and me driving the 317, we tested the new
winch. Within a half hour, setup included, we had the trailer in
the street again. Granted that the trailer with table was less
than 3000 pounds and the little Deere another 900 or so (liquid filled
tires), but the winch
did its job. At the end of the pull, the winch motor was just barely
warm to the touch. The size 2/0 electrical cables were stone
cold. I wish we had pictures of the event, but between the two of
us, we had our hands full making the pull while we tried to keep our
curious cats from getting under foot. I think it's going to pull
the surface grinder on to the trailer easily.
Winch testing
finished, I set my sights on moving 21 years of hobbies and tools out
of the
basement. Did I say that I had acquired a lot of stuff?
After a few weeks of trailer and truck loads, I had enough room to
start on moving the bigger stuff. The lathe ended up being
easy. It only weighs a few hundred pounds and with it bolted to
its new table, but unhooked from its stand, I could lift the whole
thing - motor, chuck, tailstock
and all - with the engine hoist. I had purchased a metal garden
cart from Tractor Supply and made up a hitch so I could tow it behind
the Deere. This helped out quite a bit. I had read that
these carts had wheel bearing problems, so I paid attention to them
when I assembled the cart. In what seems to be typical for China
grease, it had turned hard and chunky. I loosened the bearings up
with oil and then repacked them with quality grease. So far, so
good.
The surface plates
were a little more of a chore to rig. I had gotten help with the
3 new
(still in boxes) plates. We moved them before my son shipped out
to Afghanistan again, but now it was just me alone against the tools.
The 18" X 24" Rahn plate is only about 4 inches
thick and has ledges, so it wasn't too tough to make a sling for, but
with nothing to tie off to, one wrong bump could result in a broken
plate. The 6" thick Starrett plate also has ledges, but is
substantially heavier. Again I made a sling to hold the
plate and moved slowly. All of the surface plates are now safely
in their new
home, but I got a few more gray hairs in the process.
Early in the
week, I started the disassembly of the mill so I could move it around
to the trailer later in the week after the rain stopped. Another
two days of heavy rainfall. I used the engine hoist to pull the
head assembly after disconnecting and marking all of the electrical
connections. One of these days I'll solder in proper connectors
to make this job easier. I pulled the head and stored it on the
garden cart. I then attached some straps to some 5/8" bar stock
inserted through the lifting holes to lift the mill's base off of its
stand. I bolted some 4 foot long 2" X 10" boards on the bottom of
the column base to make it less likely to tip. I actually
remembered to raise the knee so that the knee lifting screw was above
the bottom of the boards. Failure to remember this could result
in bending the acme screw. That would ruin my day! I set the mill
on the basement floor until it was time for its ride to the trailer.
I removed my old
Craftsman cast iron table saw from the strong but ugly base that came
with it. Maybe I should build a new stand for
it sometime after all the other projects are done? I broke down
some more shelving and boxed up all the mill accessories and waited for
a break in the weather.
Finally on Thursday
we got our first day of sun. The yard was still soggy, but I
needed to get the trailer loaded for the weekend trips to the new
house. Moving the mill head was quick and easy. While it's
a little heavy to lift without help, it's easy enough to lift one end
at a time
and walk it across the boards from the cart to the trailer. Both
are about the same
height and a couple 2" X 10" boards made a good ramp between the
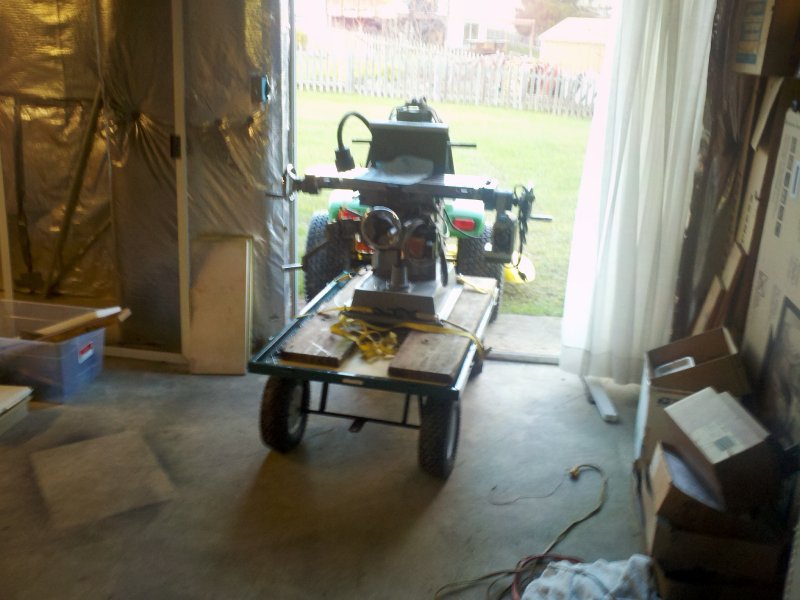
two. Next was the mill base. I was going to move this
intact. However, I did remove the mill vise. I used the
engine hoist to lift the mill on to the cart, strapped it down and got
the tractor around back. I then realized that the mill table was
too wide for the sliding glass door. After removing both glass
doors, I backed the tractor into the basement and hooked up the
cart. I took it very slowly, leaving deep impressions in the
muddy grass. The trailer is supposed to be able to handle 1000
pounds, but those are Chinese pounds. I figure that the part of
the mill I was moving was between 600 and
700 pounds. Not that heavy, but heavy enough. At the top of
the hill that leads to the front yard and driveway, there's a sharp
uphill turn. If I was going to tip over the cart, that would be
the spot. I swung the tractor as wide as I could, moving as
slowly as possible and parked the cart inches from the rear of the
trailer. Good show.
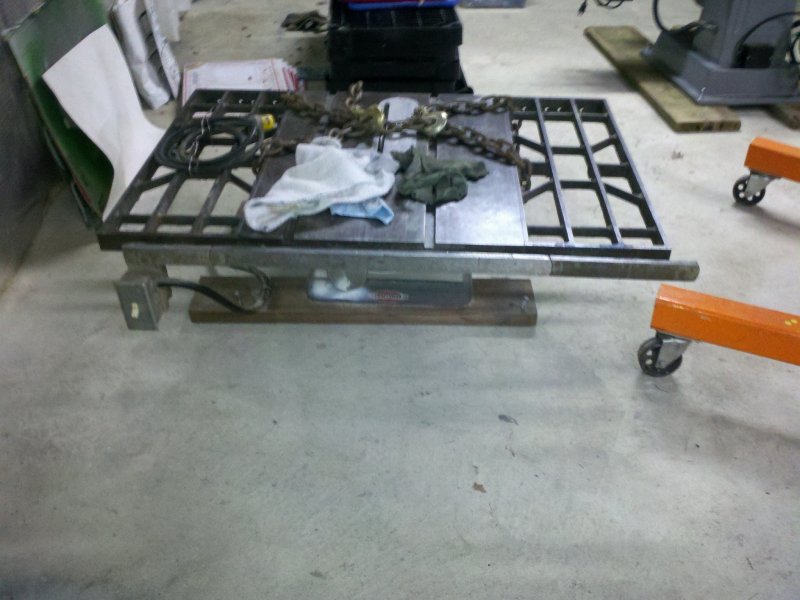
Getting the mill
off of the cart would have been easier if the engine hoist was
available, but it was in the basement and unless I wanted to break it
down and carry it around to the driveway piece by piece, it was going
to stay there until I
could carry it on the cart that now had the mill on it. I suppose
that I could have hooked up the new winch, but that was over-kill for
the weight involved. I ended up using my ratcheting cable puller
to slide
the mill from the cart to the trailer. Slow going, but now it's
sitting on the trailer waiting to make the trip to it's new home.
Here are some
pictures. When I get around to it, the next installment will be
the surface grinder move. I will take pictures of the
process. Wish me luck.
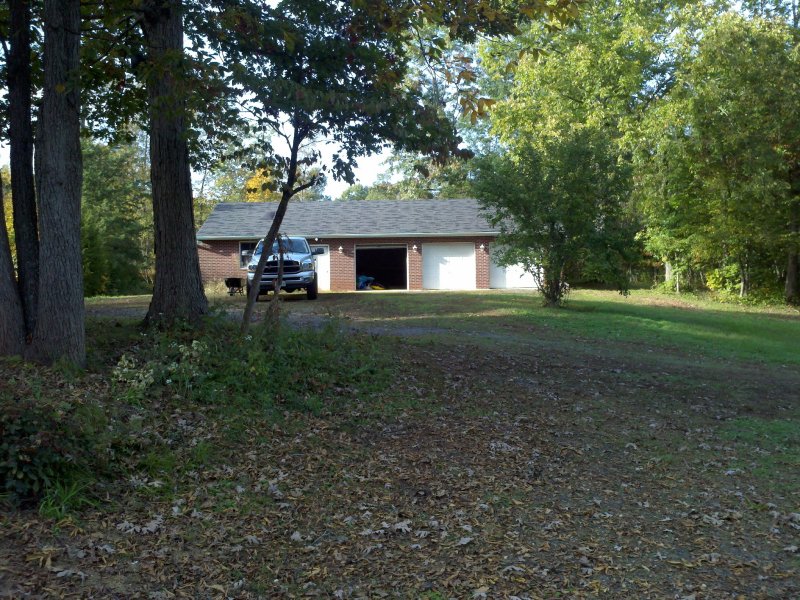 |
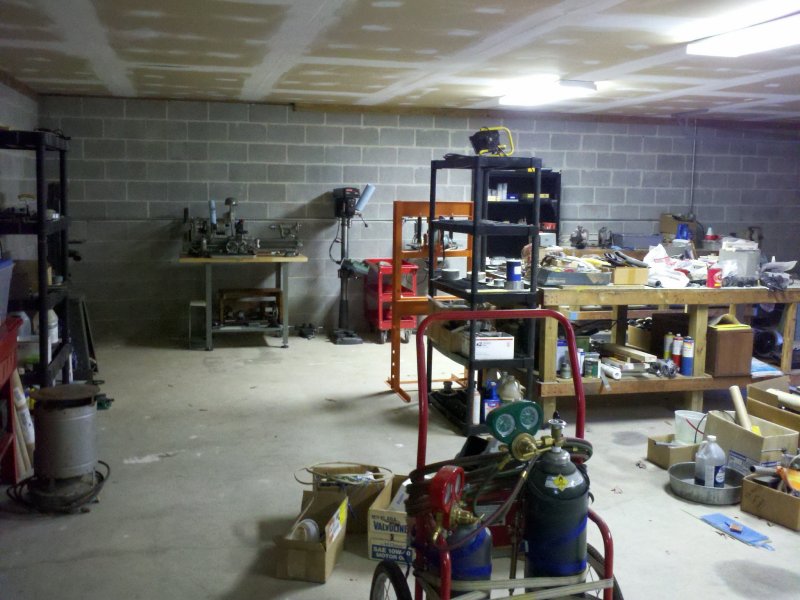
| The
new
workshop.
Three
bays
in
front
and one on the side. There's also a narrow room for my
metrology tools and a computer. |
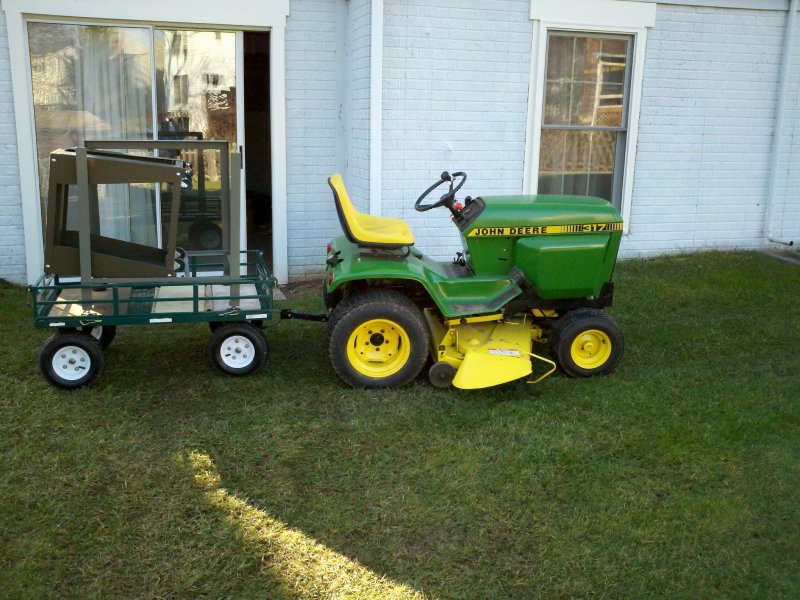 |
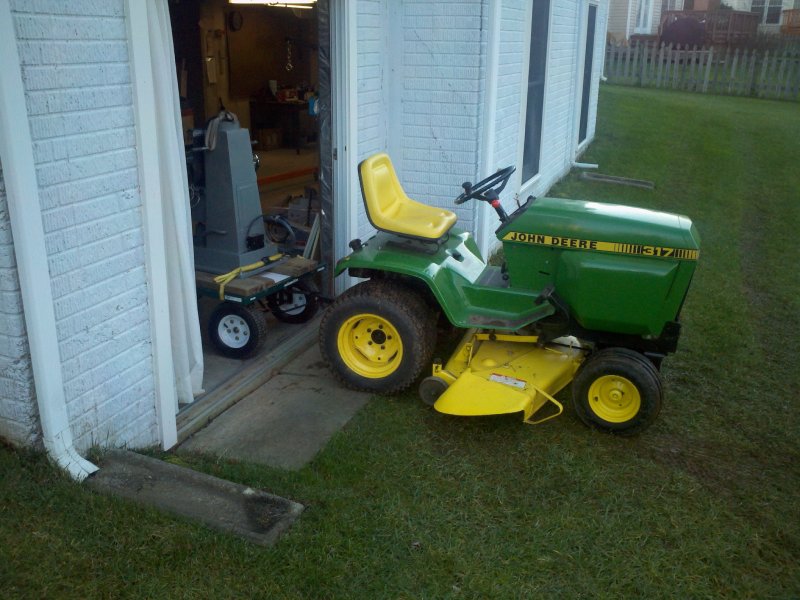
| The
deere
317 and garden cart carrying some surface plate stands. |
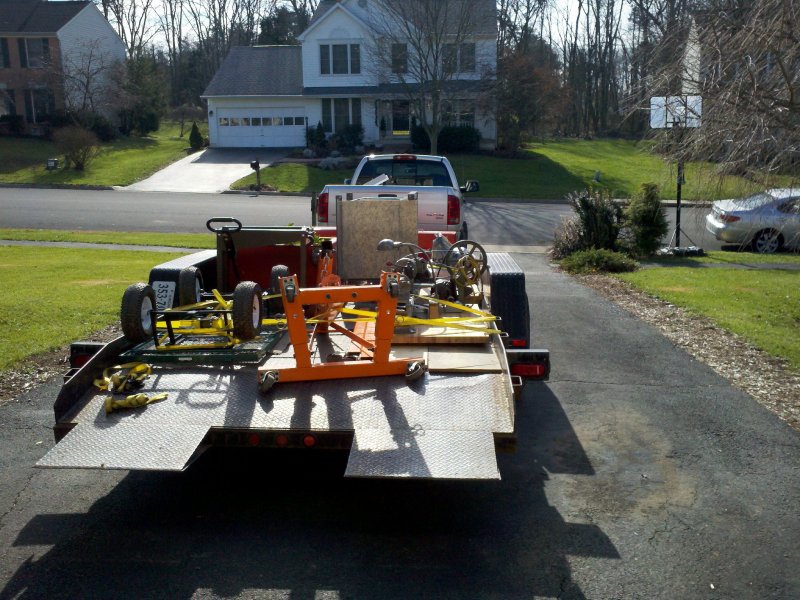 |
| The
South
Bend lathe, surface plates, stands, tool boxes and the necessary
cart and crane. |
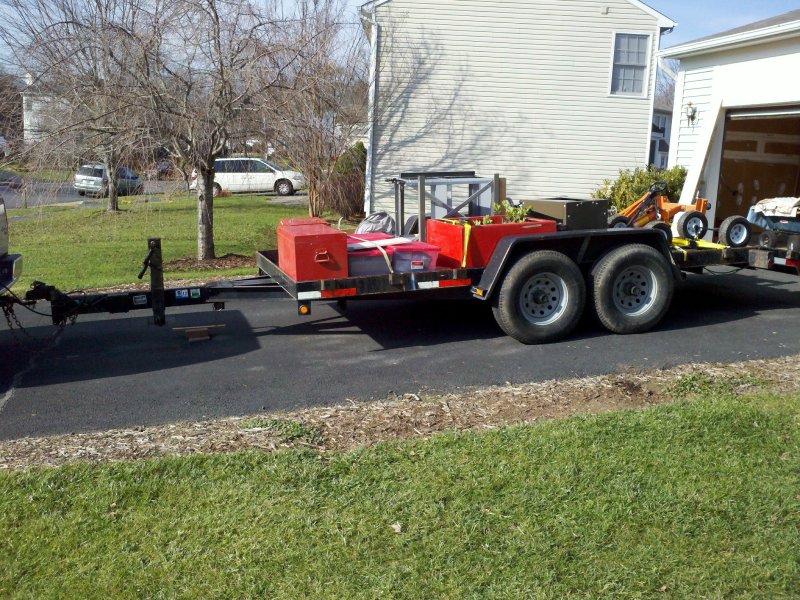 |
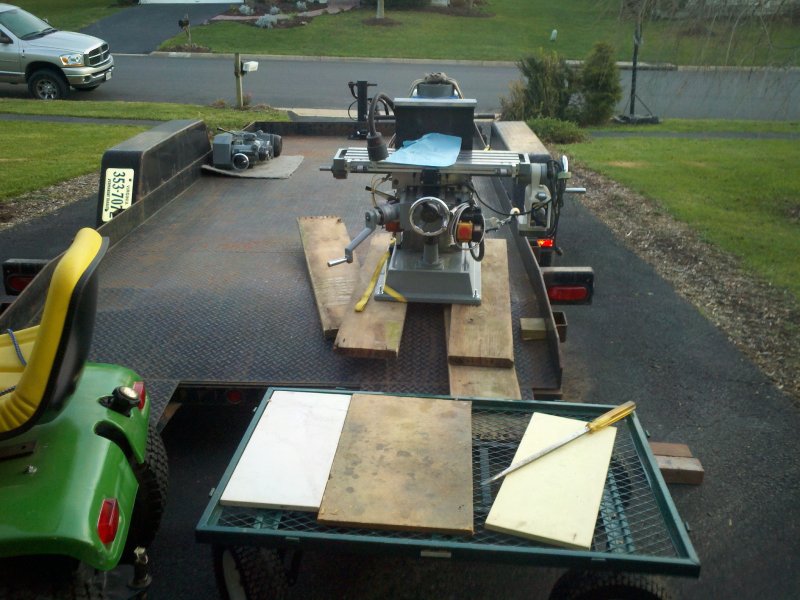
| Full
shot
of the trailer with a load. |
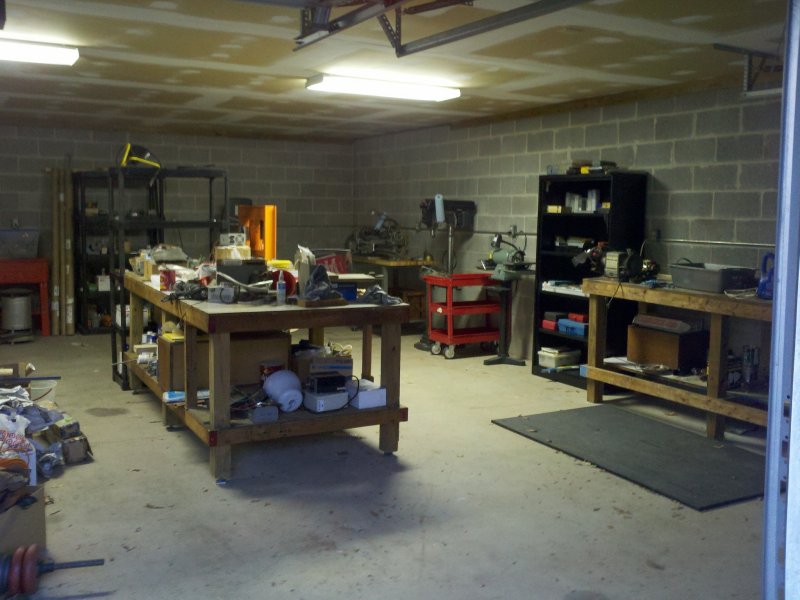 |
| New
shop
taken from second bay door. |
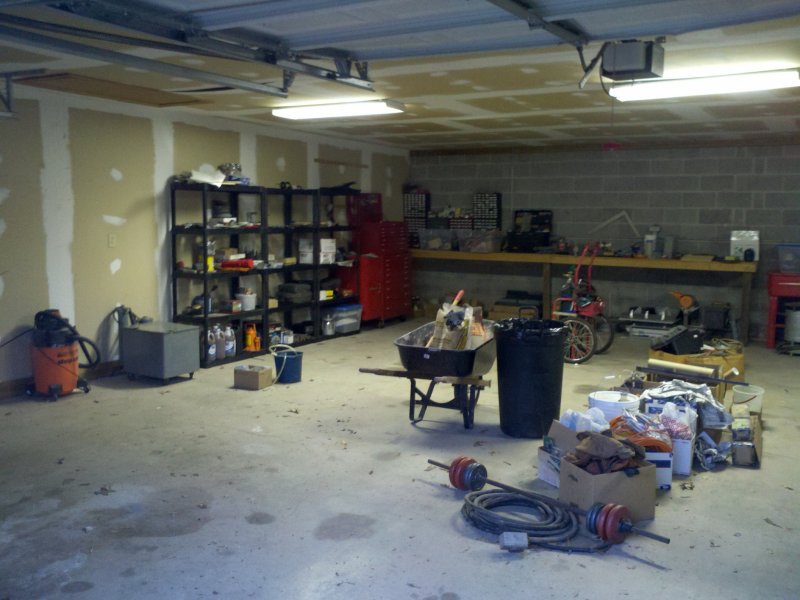 |
| Facing
more
left from the shot above. I have lots of stuff to put away. |
 |
| The
doorway
to the small room. |
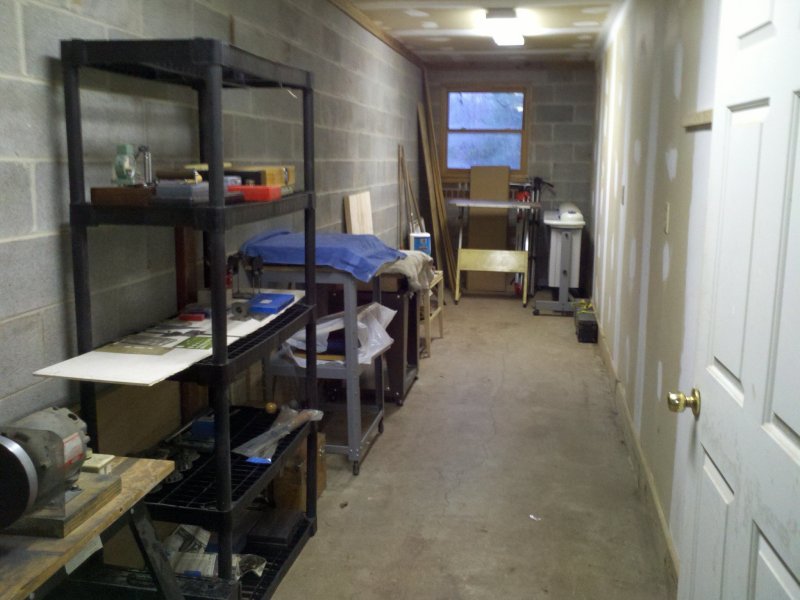 |
| The
small
room will house all my measuring, scraping and drafting gear. |
 |
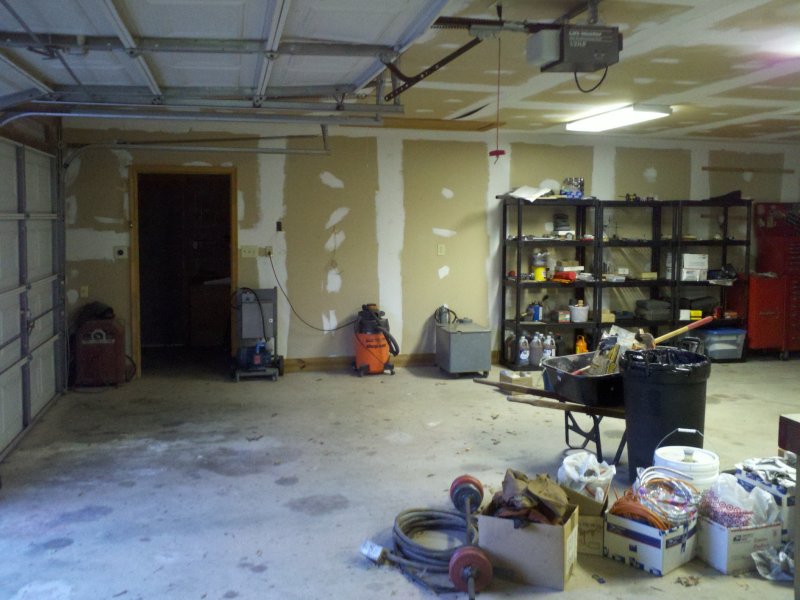
| I'm
still
trying to figure out the best way to set up the tools. In this
area, I have about double my previous floor space from my basement, but
have to include the tools from the old garage as well. The side loading
bay (not shown) will house my wood tools. |
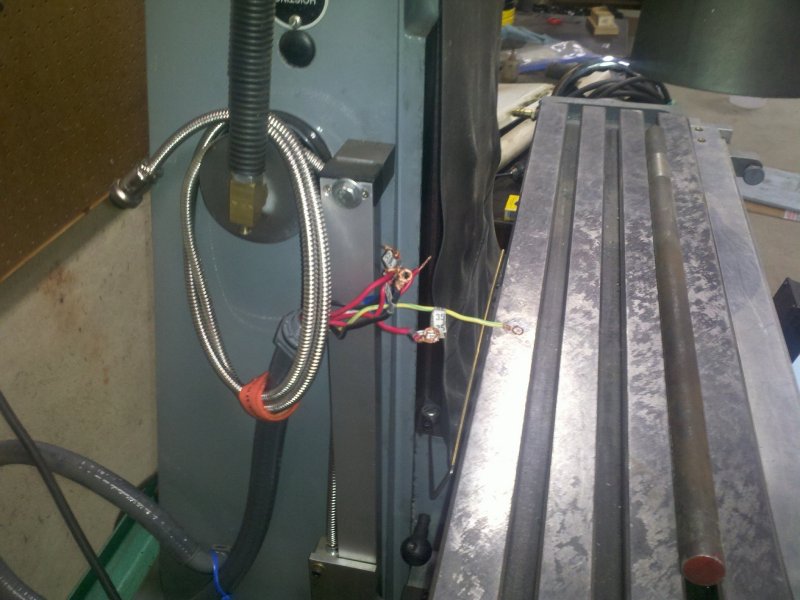 |
| The
wires
from the mill head are unhooked and marked so I don't forget
where they go. |
 |
| Ready
to
remove the head. |
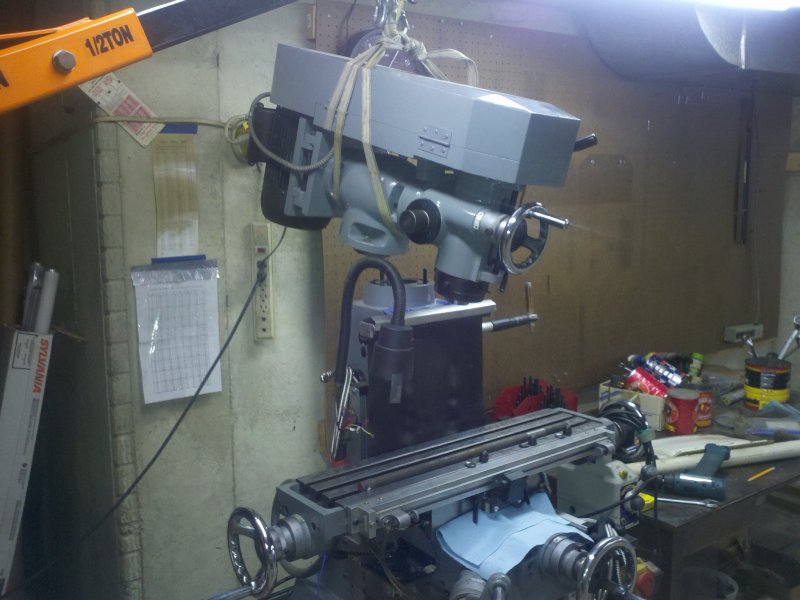 |
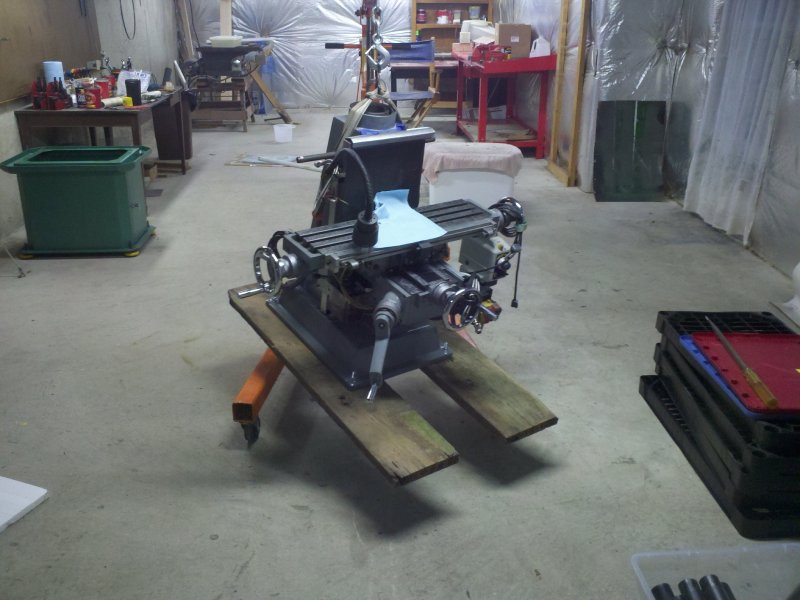
| Head
is
off. |
 |
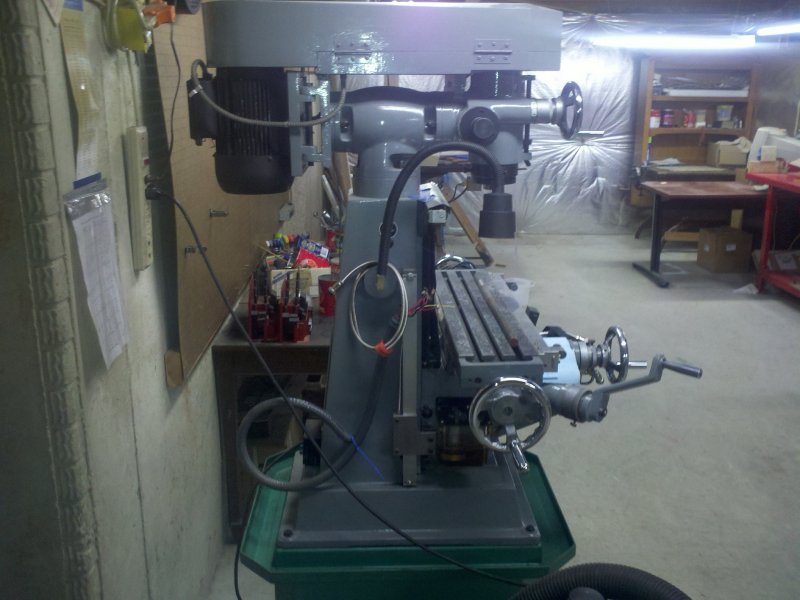
| Base
has
had boards attached to prevent tipping. |
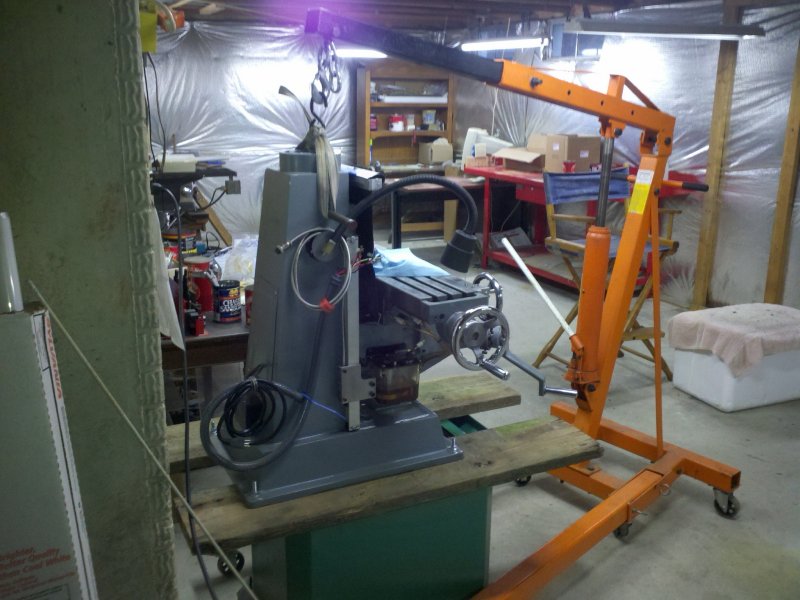 |
| Ready
to
lift. |
 |
| Pretty
easy
lift. |
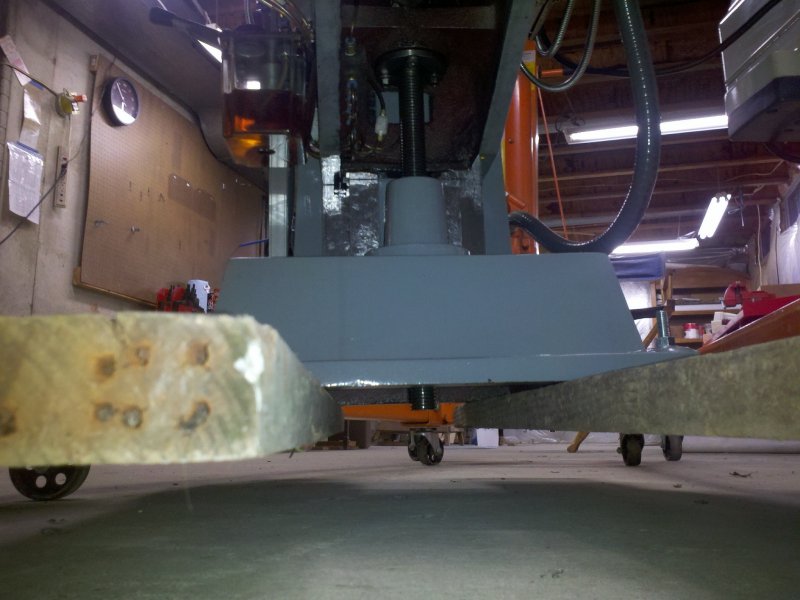 |
| Make
sure
that the knee elevation screw won't hit the ground. Don't forget
this. |
 |
| My
old
Craftsman cast iron table saw. |
 |
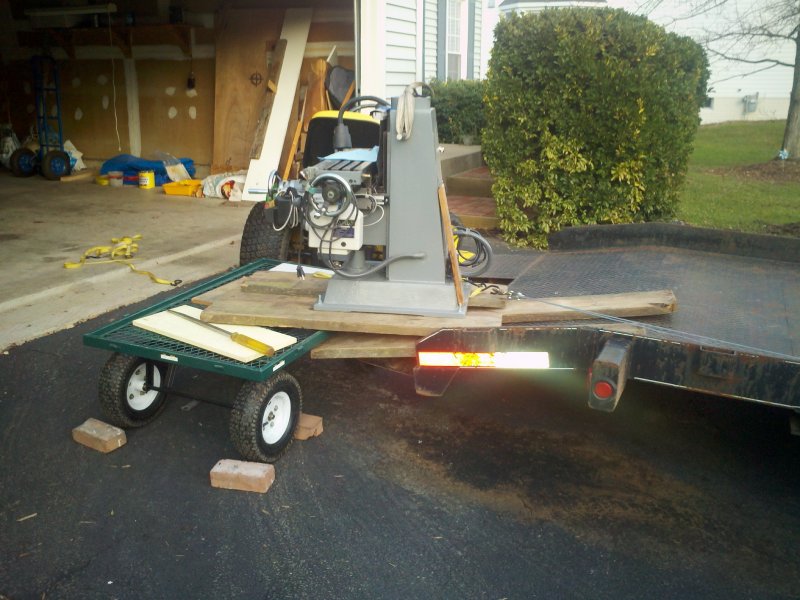
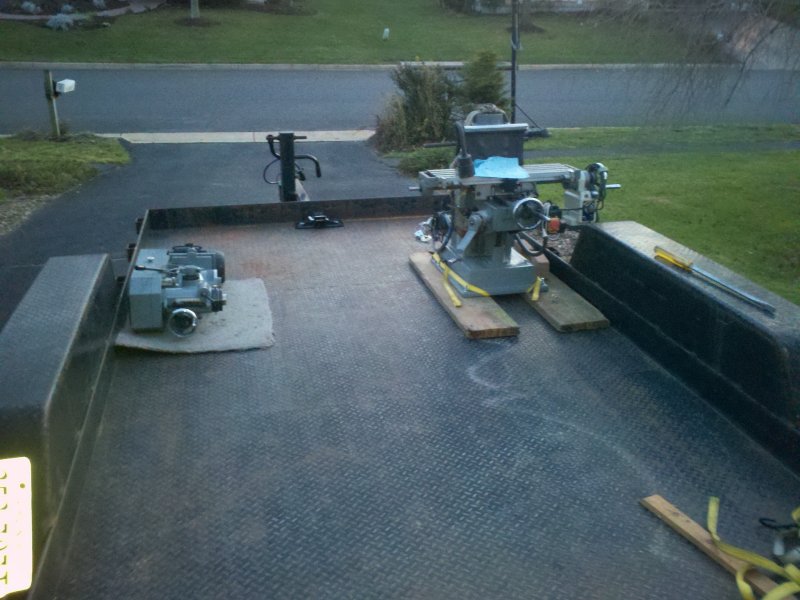
| The
mill
base goes for a ride. |
 |
| Another
view.
The lawn is taking a beating. |
 |
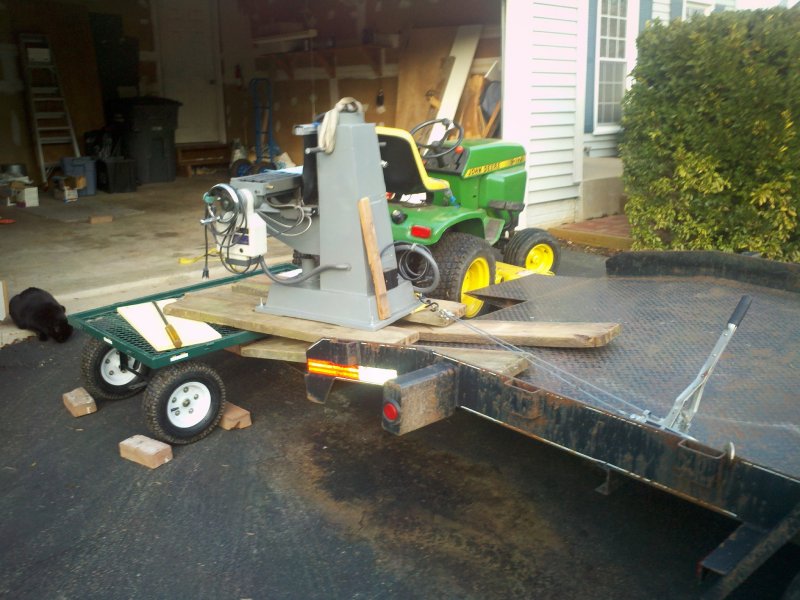
| Unloading
the
mill on to the trailer. |
 |
| Using
the
cable puller to assist. Cat is supervising. |
 |
| Almost
there. |
 |
| Neatly stowed.
Little screwdriver for persuasion. |